A friend of mine asked on how to install a virtual-machine with a clean test-system on an Ubuntu System.
He is writing a dependency installation script for one of his programs,
therefore he needs a system with no pre-installed development libraries or PPAs.
Let’s go:
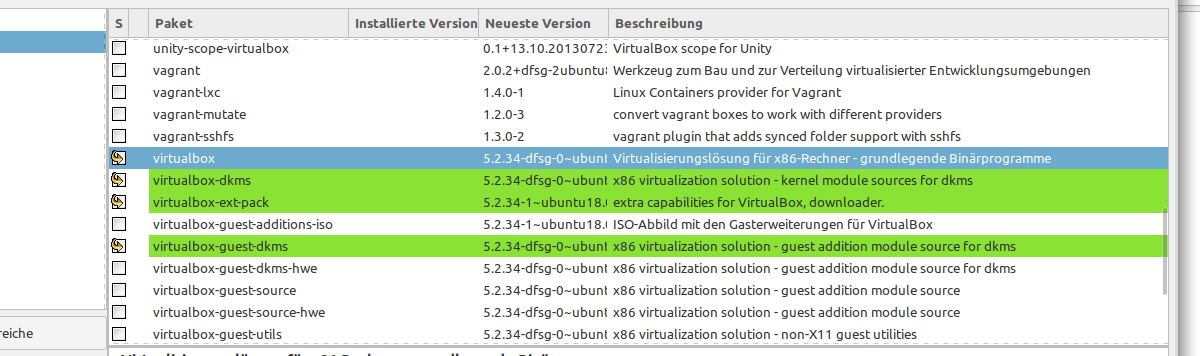
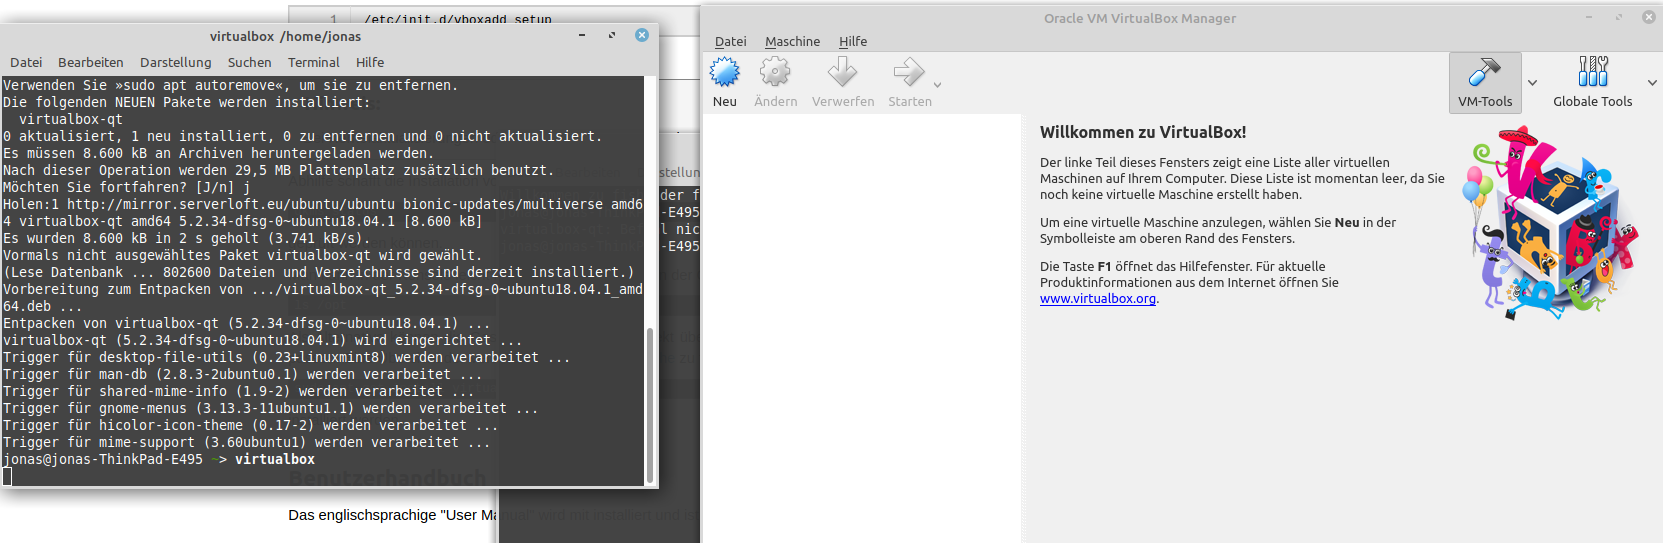
Install the needed program packages.

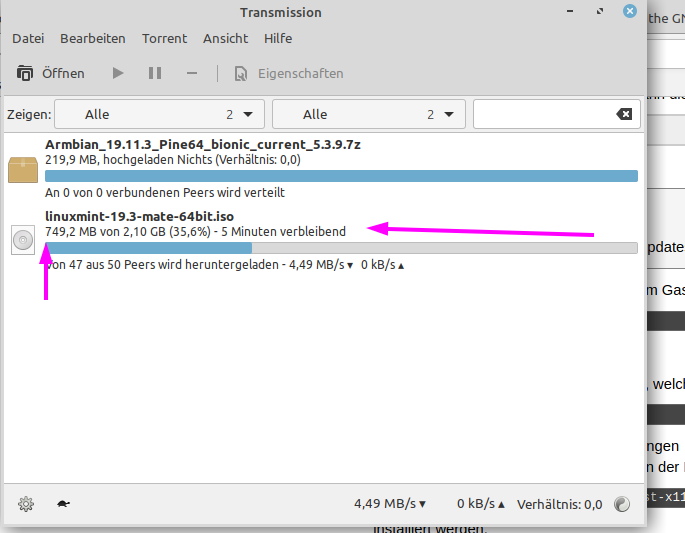
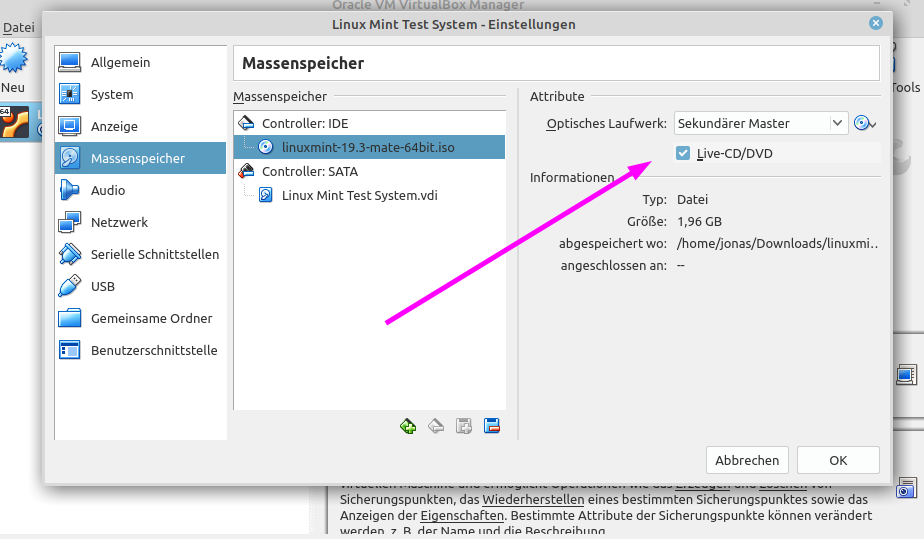
Now download a system iso file:

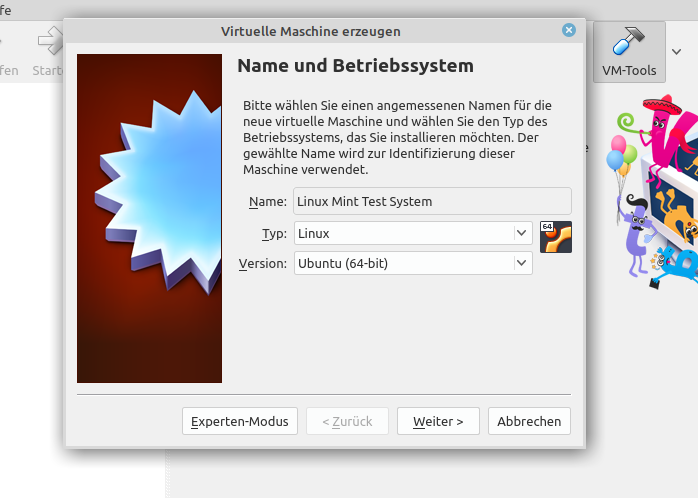
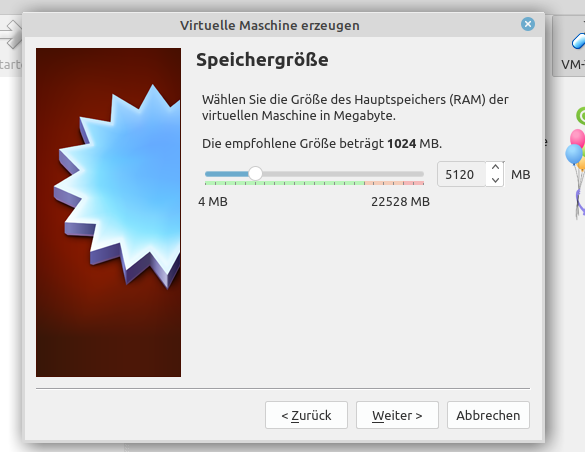
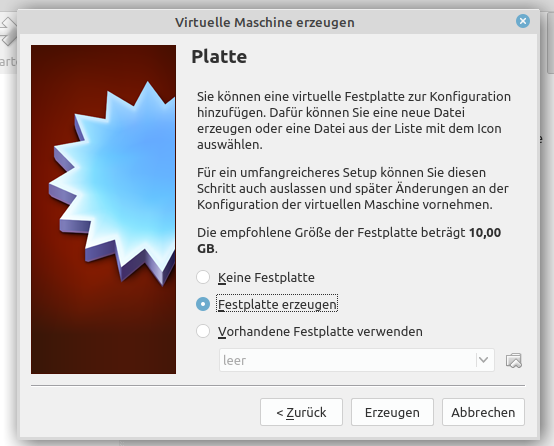
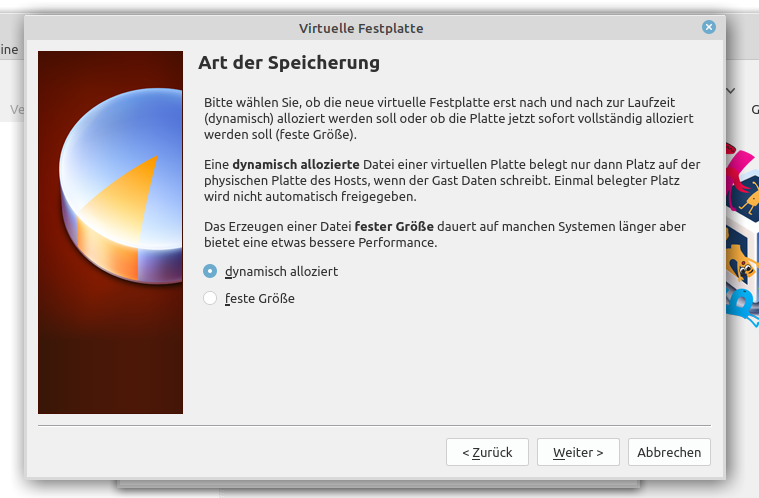
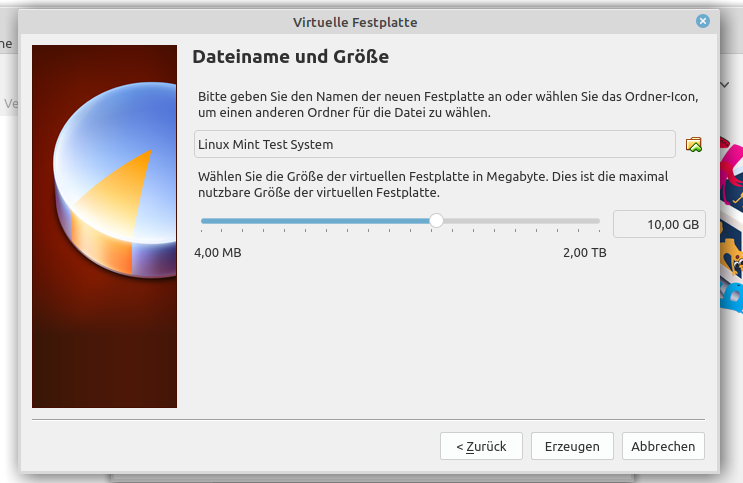
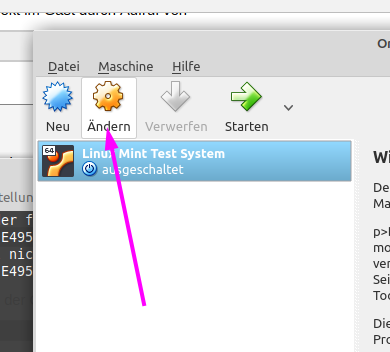
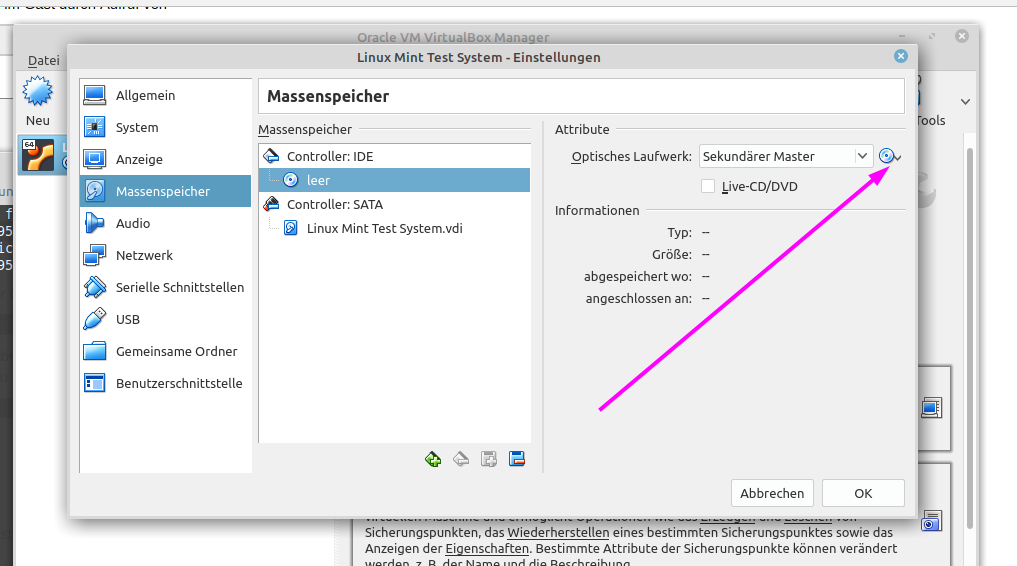
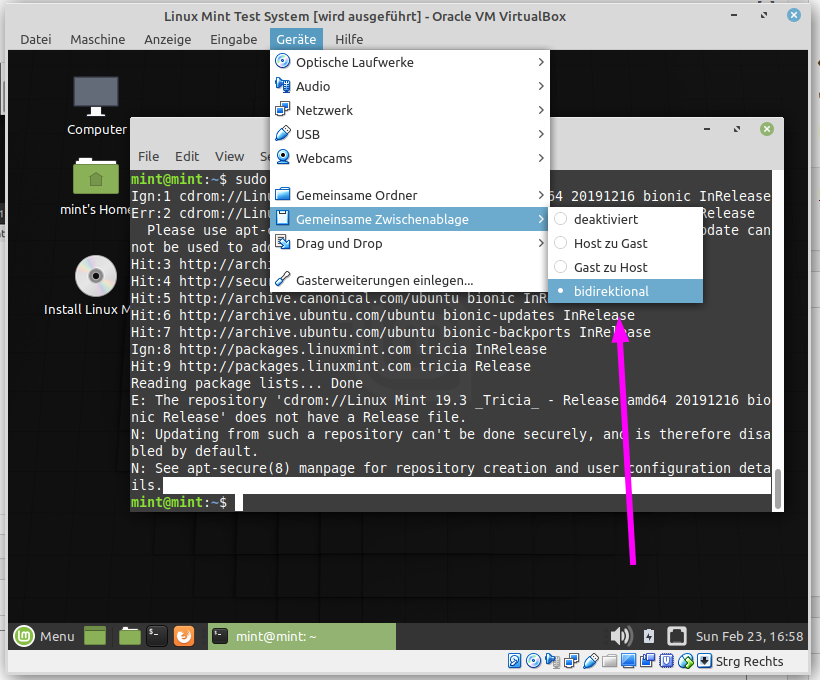
After the download is finished go back to VirtualBox.
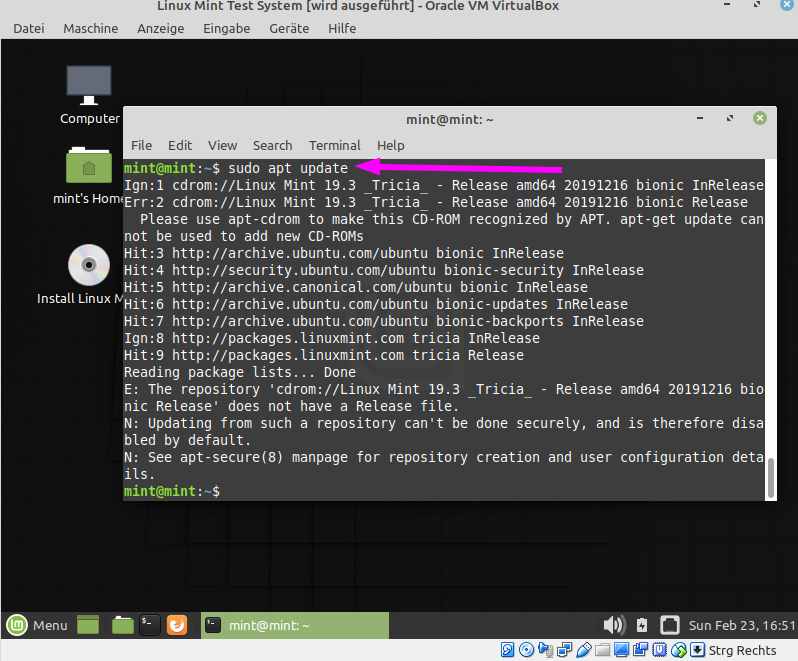
If you want to use PPAs on the test system than run:
sudo apt install apt-transport-https ca-certificates curl software-properties-common
Done
All system changes will be gone after a reboot.
Perfect thing for a test system. 😎
Update:
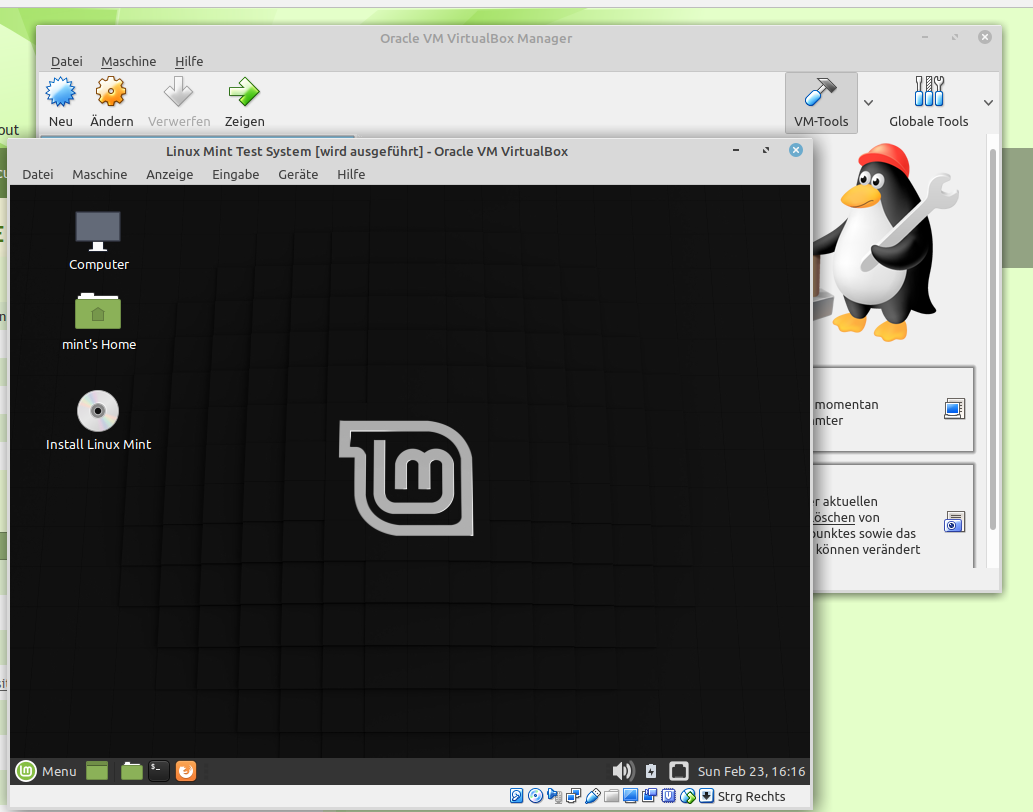
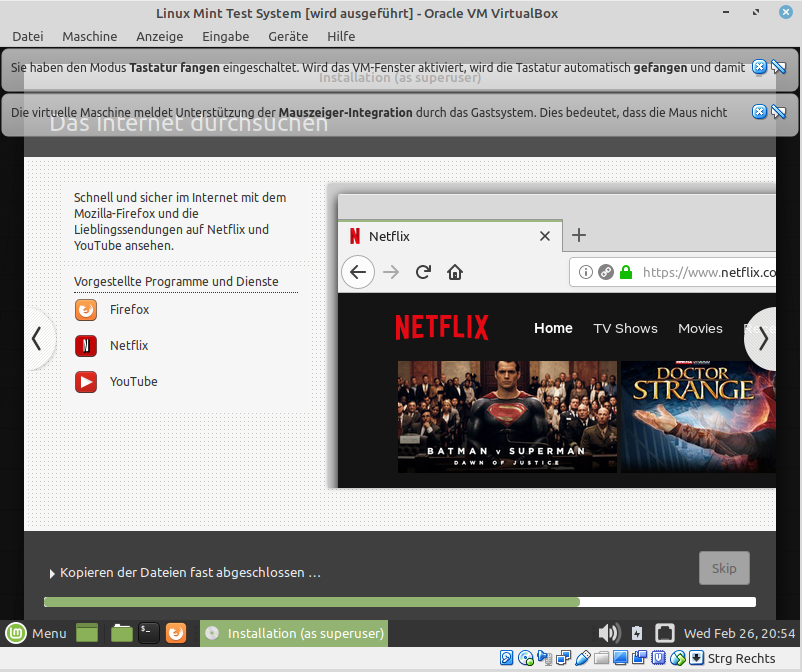
In case you want to have a persistent system installation, you would now start to install the Linux system by double-clicking the „CD“ on your VM-Desktop.
After the installation the system restarts, keep in mind to exclude the installation ISO from the VM configuration.
After the VM restarted it now can happen that instead of a login screen, a black screen shows up to you.
Most often the problem will be solvable by activating the VT-X or SVM on your PC, hosting the Virtual Machine.
A path on how to do this, you can find here:
https://www.qnap.com/de-de/how-to/faq/article/intel-vt-x-und-amd-svm-aktivieren/